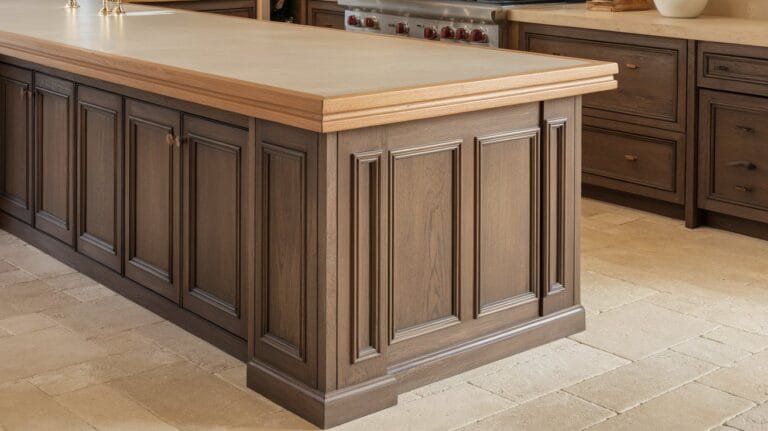
How to Paint Kitchen Cabinets Like a Pro | Step-by-Step Guide

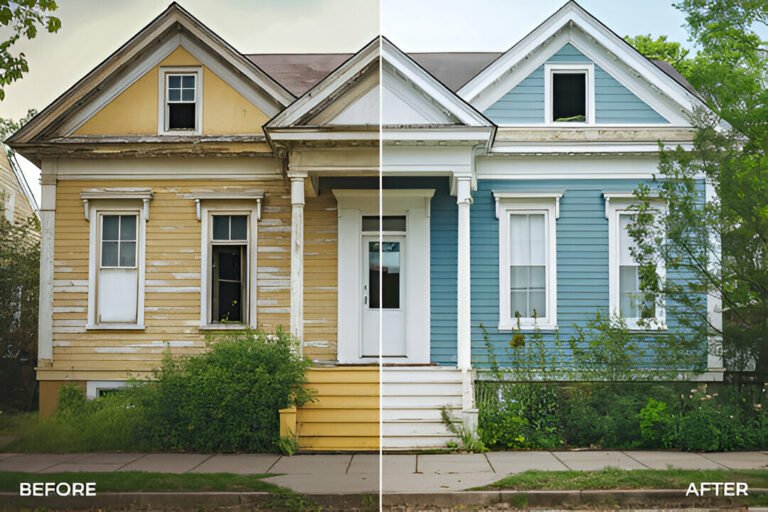
Transforming your kitchen doesn’t have to involve a full renovation. Painting your kitchen cabinets is a cost-effective, impactful DIY project that delivers a brand-new look to your space.
While it may require some elbow grease and patience, it’s entirely achievable with the right preparation, materials, and techniques.
This guide will walk DIY enthusiasts through the process step by step, so you can give your cabinets a stunning makeover.
Why Paint Your Kitchen Cabinets?
Painting your kitchen cabinets does more than just save money. It allows you to transform your kitchen’s look entirely, from drab to fabulous, without the need for expensive replacements.
Here’s why it’s worth the effort:
- Cost-Effective: Painting costs a fraction of cabinet replacement.
- Customizable: Choose the exact color and finish you want to fit your style.
- Sustainable: Refurbishing cabinets reduces waste and helps the environment.
- Big Impact: Refreshing cabinets instantly modernizes and revitalizes your space.
Painting cabinets isn’t complicated, but it’s important to take your time, prepare properly, and follow a methodical approach.
How to Paint Kitchen Cabinets
1. Preparation is Key
Getting ready is half the work. Proper prep ensures the paint adheres well and gives you a smooth, durable finish.
Set Up a Workspace
- Choose a well-ventilated space with enough room to remove and lay flat cabinet doors and drawers.
- Cover nearby furniture, walls, and flooring with drop cloths or plastic sheets.
Gather Your Materials
You’ll need the following supplies:
- Paint (such as Benjamin Moore’s Advance® Interior Paint for a premium finish)
- Primer (Fresh Start® High-Hiding All-Purpose Primer works perfectly for cabinets)
- Nylon/polyester paintbrush and/or microfiber roller
- Sandpaper (100-150 grit and 220 grit)
- Screwdrivers, painter’s tape, degreaser, and microfiber cloths
- Optional extras like foam brushes for detail work
Clean and Degrease
- Use a grease remover and a damp sponge to clean cabinet doors, drawers, and frames. Kitchens accumulate years of grease that can prevent paint from adhering properly.
- Let everything dry completely.
Sand the Surface
- Sand cabinet surfaces lightly with 100-150 grit sandpaper to create a texture for the primer to grip.
- Wipe away sanding dust with a clean, damp cloth.
Protect the Surroundings
Apply painter’s tape around the edges of countertops, walls, and any areas you want to keep paint-free.
2. Priming for Success
Primer is your secret weapon for a perfectly painted finish.
Why Prime?
Priming prepares the cabinet surface, ensures better paint adhesion, and helps block stains or grease from bleeding through the paint. It’s crucial for a long-lasting result.
Application Technique
- Use a high-quality primer like Fresh Start® High-Hiding All-Purpose Primer, ideal for dramatic color changes or darker cabinets.
- Apply the primer evenly with a brush or roller, working in long, smooth strokes.
- Allow the primer to dry for at least 1 hour before sanding lightly with 220-grit sandpaper to smooth out imperfections. Wipe away dust and debris.
3. Painting Techniques
Finally, it’s time for the fun part!
Choose the Right Paint
Opt for a product designed for cabinetry, like Benjamin Moore’s Advance® Interior Paint, which levels beautifully and dries to a durable, furniture-like finish.
Brush or Roller?
- Brushes are great for edges, corners, and intricate details.
- Microfiber rollers are ideal for broader, flat surfaces to avoid brush marks.
Apply the Paint
- First Coat
- Allow this coat to dry completely before sanding lightly with 220-grit sandpaper to achieve a smooth surface.
- Apply the paint in thin, even layers to avoid drips or uneven coverage.
- Second Coat
- Repeat the process to ensure full coverage, working slowly for precision.
4. Drying and Curing
Patience is key during this phase. Proper drying is essential for durability.
Drying Tips
- Allow 24-72 hours for the paint to dry completely between coats, depending on the brand instructions.
- Create a well-ventilated area by opening windows or using fans to speed up drying.
- Avoid heavy use of the cabinets for at least 5-7 days to allow the finish to cure fully.
5. Reassembly and Final Touches
Once everything has dried and cured, it’s time to put your kitchen back together!
Reattach Hardware
- Install the hardware (or upgrade to new handles and knobs for an extra touch of style).
- Rehang cabinet doors and slide drawers back into place.
Clean Up
- Remove painter’s tape gently and clean up your workspace.
- Take a step back and admire your refreshed kitchen!
Your Newly Painted Kitchen Awaits
Painting kitchen cabinets is a fantastic way to elevate your space without the stress of a full remodel.
By following these steps, you’ll achieve a professional-looking finish that will last for years to come. The process does take time, but the results are more than worth it.
Whether you’re a seasoned DIYer or completely new to home projects, give this a try.