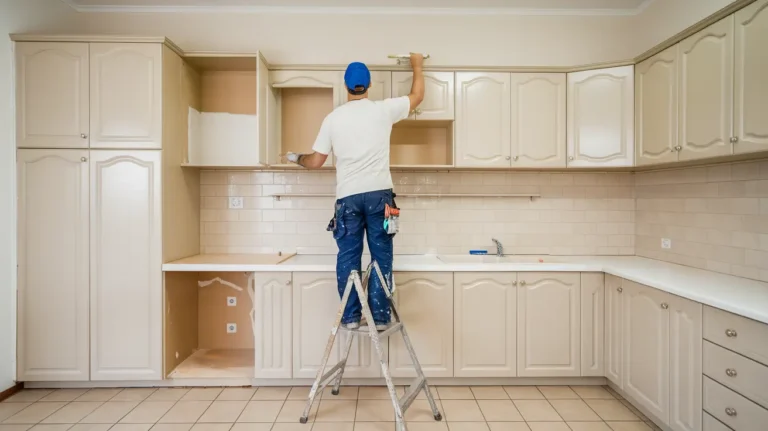
How to Paint Wood Paneling Like a Pro – Step-by-Step Guide

Wood paneling is often associated with outdated interiors, but painting it can completely transform your space into something fresh, modern, and inviting.
If removing paneling seems daunting or expensive, painting is the perfect way to refresh your walls without the hassle or cost of replacement.
This guide will walk you through all the steps, from preparation to finishing touches, ensuring a polished and long-lasting look.
Whether you’re upgrading a single room or tackling an entire home, these tips will help you do it like a pro.
Preparation is Key
Painting wood paneling isn’t as simple as slapping on a coat of paint. Proper preparation ensures your efforts hold up for years to come. Follow these foundational steps for success.
1. Clean the Paneling
Before anything else, cleaning is essential. Over time, wood paneling collects grease, grime, and dust, which can prevent paint from adhering properly.
- What to Use: Opt for a degreasing cleaner like TSP (trisodium phosphate) or a safer substitute mixed with water.
- How to Clean: Use a damp rag to wipe the surface thoroughly, focusing on stubborn areas. Allow it to dry completely before moving to the next step.
2. Assess the Surface
Inspect the paneling for damage such as cracks or holes. Use wood putty or filler to address these imperfections.
- Tip: Smooth the repaired areas with medium-grade sandpaper after the filler has dried to create a seamless surface.
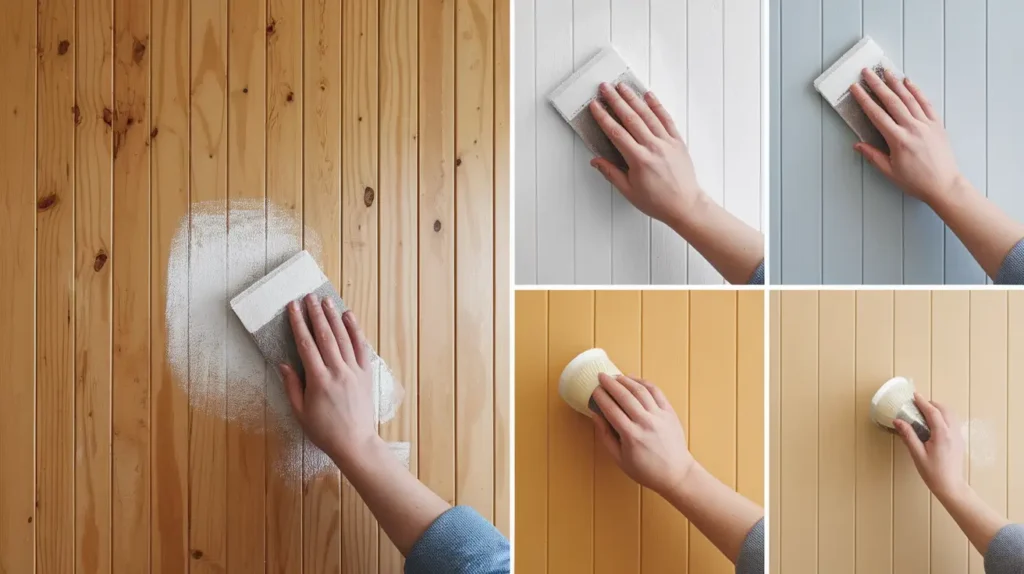
3. Sand (When Necessary)
Sanding is an optional step, but it greatly enhances paint adhesion, especially on glossy or varnished surfaces.
- When to Sand: If your paneling has a shiny finish or laminate coating, lightly sand it with 150-grit sandpaper to create a rough surface for the primer to stick to.
Important Safety Note: If the paneling has paint applied before 1980, test it for lead. If lead paint is present, avoid sanding and proceed directly to priming.
4. Fill Gaps with Caulk
For a polished aesthetic, apply a “paintable” caulk to any gaps between paneling planks, trims, or moldings. Smooth the caulk with your finger or a tool, and allow it to dry according to the manufacturer’s directions.
Prime for Success
Skipping primer is one of the biggest mistakes when painting wood paneling. Primer ensures coverage, prevents stains from bleeding through, and helps the paint adhere to the wood.
Choose the Right Primer
The type of primer depends on the condition and type of your paneling.
- Oil-Based Primer: Ideal for blocking stains and knots in real wood, especially for pine or cedar paneling.
- Water-Based Stain-Blocking Primer: Great for faux or laminate paneling to ensure paint grips to the surface.
Application Tips
- Use a foam sponge roller for large flat areas and a brush to reach grooves, joints, or corners.
- Apply one thin, even coat and allow it to dry completely.
- If your paneling required filling and sanding, add a second thin coat of primer to create a flawless finish and ensure consistency.
Pro Tip: For knotty wood varieties like pine, use a specialized "knot-blocking" primer to avoid discoloration from sap seepage later on.
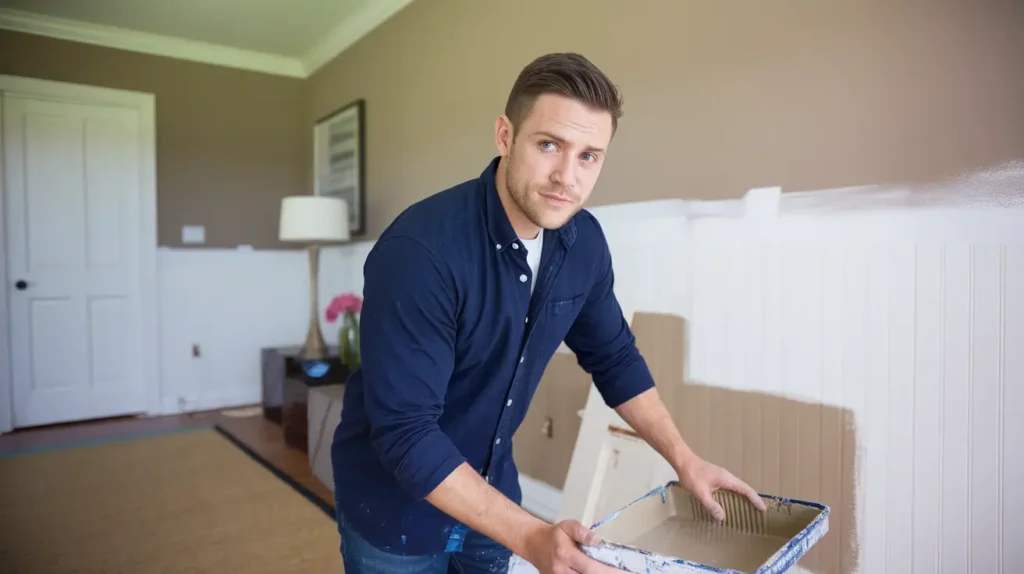
Start Painting
Now it’s time for the fun part! Painting wood paneling can transform dull walls into a fresh, modern statement.
Selecting the Best Paint
For wood paneling, interior latex paint with a satin finish is often the best choice. It offers a subtle sheen that’s easy to clean and enhances the overall look. Other finishes, like eggshell or semi-gloss, can also work depending on your space and personal style.
Step-by-Step Painting
1. Start at the Top
Always begin painting at the ceiling line and work your way down toward the floor. This approach prevents drips from ruining freshly painted sections below. Use a steady hand when cutting in along the edges to achieve a clean, professional finish.
2. Thin, Even Coats
Apply thin, even layers of paint to avoid visible brush strokes, streaks, or patchy areas. Thin coats dry faster and provide better adhesion for subsequent layers. Use a high-quality brush to get into any grooves or details in the paneling, and rely on a roller for covering flat, larger surfaces quickly and efficiently. Don’t overload your brush or roller with paint, as this can lead to dripping.
3. Allow Proper Drying Time
Always follow the manufacturer’s recommended drying time between coats. Rushing this step can lead to peeling or uneven finishes. Depending on the paint type and room conditions (like humidity), drying times may vary, so be patient and ensure the surface is completely dry before moving on.
4. Apply a Second Coat
The second coat is critical for full coverage, color consistency, and durability. Even if the first coat appears sufficient, a second layer will enhance the overall finish and ensure the paint lasts longer. Take your time to apply it as evenly as the first, paying extra attention to any areas that looked patchy initially.
5. Trim and Moldings
If your paneling includes intricate trim, moldings, or edges, use a smaller, angled brush for precision. Careful attention to these details can elevate the entire look of your paint job. For added depth or a bold design statement, consider painting trim or moldings in a contrasting color or a glossy finish to create visual interest.
Pro Tip: If you’re using a dark paint color over light-colored paneling, you may need to apply a third coat to ensure complete and even coverage. Additionally, lightly sanding between coats can help improve adhesion and create a smoother finish. Take your time, and you'll achieve a polished, professional-looking result!
Bottom Lines
Painting your wood paneling is more than just a cosmetic upgrade. It can completely transform the ambiance of a room, adding brightness, sophistication, and a modern touch.
By following these steps, you’ll not only save money but also create an elevated look that reflects your personal style.
Don’t settle for outdated paneling when a little effort and paint can transform it. Gather your tools, choose your favorite paint colors, and refresh your space today!