
How to Hang Curtains in Bedroom Like a Pro

I recall the days when I first tried to get curtains in Mumbai and put them up in my bedroom. What looked like a simple job soon proved to be Laurel and Hardy meet Lou Costello — rods that wouldn’t go in walked with the slant, panels that weren’t flat, holes where thj they should be but not where htey shoudn’t.
If you’ve ever gazed at a naked window and just didn’t know where to begin, you aren’t alone.
Hanging curtains in a bedroom creates an indulgent and sensual ambience. They’re not merely shields against light and peeping Toms — they also help your space feel more finished, comfortable and polished. The good news? It’s actually quite simple once you know the basic steps.
In this post I’ll discuss everything you need to know to hang curtains that look professionally installed. Whether you are a complete novice or just want a refresher, with these steps you will get it right the first time.
Tools and Materials You’ll Need
Before we begin, let’s round up all the ingredients you’ll need. Trust me, it makes the rest of the whole thing go so much more smoothly to have all your supplies ready.
Tools:
- Drill with bits
- Level
- Measuring tape
- Pencil
- Screwdriver
- Stud finder (optional but helpful)
Materials:
- Curtain rod
- Brackets (The brackets typically included with the rod)
- Screws and anchors
- Curtains or curtain panels
Many curtain rod sets contain all the hardware you need, such as brackets, screws and anchors. Just be sure your rod is wide enough for your window — more on that in a minute.
Step-by-Step Instructions
Get the Size of Your Window and Wall space
This is where most people go wrong. I’ve been the one to eyeball everything, and trust me, that doesn’t turn out great.
Measure the length from frame to frame of your window first. To look its best, your curtain rod ought to extend 4-6 inches on either side of the window frame. That way, you can pull the curtains out of sight from the window — meaning there’s daylight on offer by day.
Up next is choosing the height at which you want to hang your rod. Here’s a rule that totally changed things for me: Hang your curtains as close to ceiling height as you can. This tends to make your windows look bigger and your ceilings look higher. Ideally, aim for about 4-6 inches below the ceiling, or directly at the ceiling if you have crown molding.
Regarding curtain length, measure from where your rod is hanging down to where you want the curtains to end. Most people want their curtains just to touch the floor or have a small “puddle” for a more elegant feel.
Selecting the Right Curtain Rod and Brackets
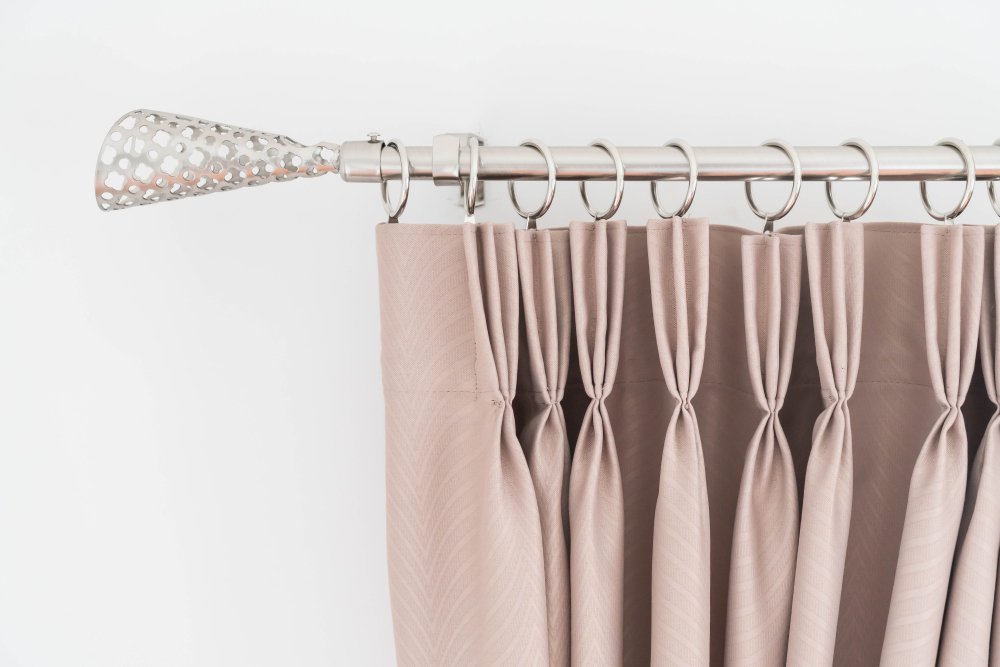
Curtain rods are not created equal. In bedrooms, I suggest using a sturdy rod that won’t sag under the weight of your curtains.
A basic tension rod could work if you have lightweight curtains. But for heavier or more secure materials, consider a rod that hangs with brackets.
Consider the style too. Simple metal round works well in contemporarybedrooms (a decorative wooden one would be perfect for a more traditionalspace).
Install the Brackets
It’s easier than you might think, though this step makes most people nervous.
First thing’s first, measure out where your brackets will sit. Use the tape measure to determine the specific points, and mark lightly with pencil. Be sure your marks are level — that’s where you’ll get your use out of a level tool!
If you’re mounting into drywall, you’ll also need anchoring options unless a wall stud is hit. When possible, I always use a stud finder because when you screw into the studs you have the strongest hold.
Drill pilot holes where you marked, then screw your brackets in. Just make sure they are tight and secure— you wouldn’t want your rod falling down in the middle of the night.
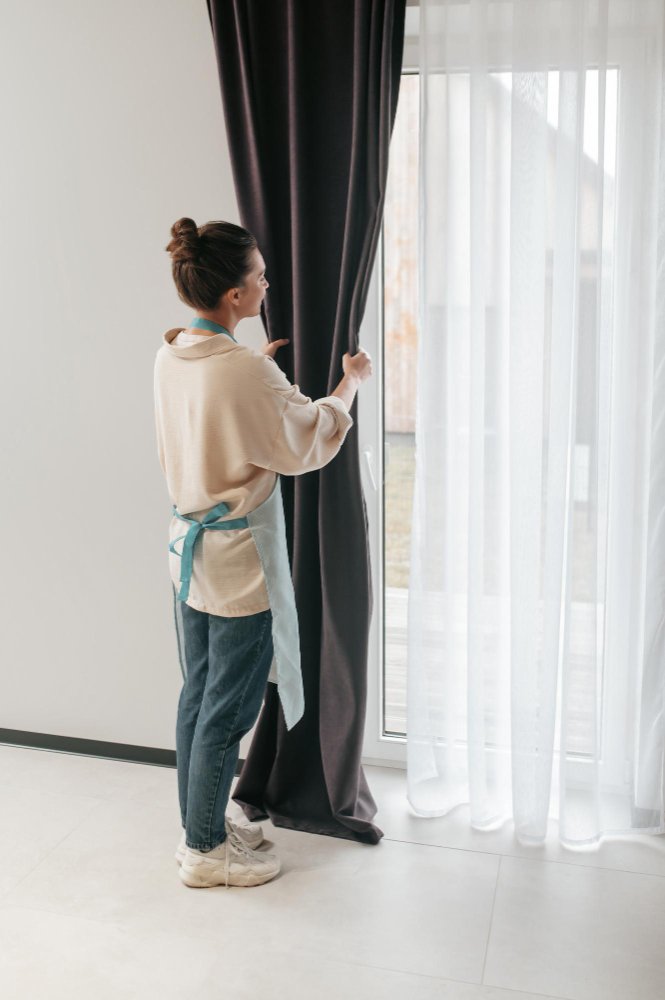
Hang the Curtains
The moment of truth! Thread your curtains onto the rod before installing the rod in the brackets. This is certainly easier and cleaner than attempting to personally sink the nuts on while the rod is installed.
Once you have your curtains on the rod, just hang the rod in the brackets. There’s usually a little slide or screw on most brackets that will prevent the rod from falling off.
Stand back and admire your work. If it all looks straight and nice, you are finished with basic installation.
Pro Tips For The Best Results
After hanging dozens of curtains over the years, I’ve learned a few tips and tricks that truly make a difference.
For curtain length: Don’t be afraid to err on the side of going too long. You can always hem curtains but you can never add fabric. 4KLOOK FOR LONGIf your curtains go all the way to the floor, they look richer and more polished than if they’re a few inches off.
For fabric selection: Heavier materials like velvet, or heavy cotton tend to offer more light blocking and insulation. In general, lighter fabrics like linen or cotton blends are perfect if you want some natural light to shine through.
For style: If your bedroom has short ceilings, opt for a set of curtains that are vertical-striped or have a pattern. This gives you the appearance of height. Hang wide curtains for small windows Widen the eye of your window by hanging curtains wider than the frame.
For layering: Hang sheer curtains by the window and thicker curtains on a second rod. This offers you dynamic options for light control and it looks really pro.
Troubleshooting Common Issues

You can plan as carefully as you like, but things can go wrong. Here are the most common problems I encounter, and how to fix them.
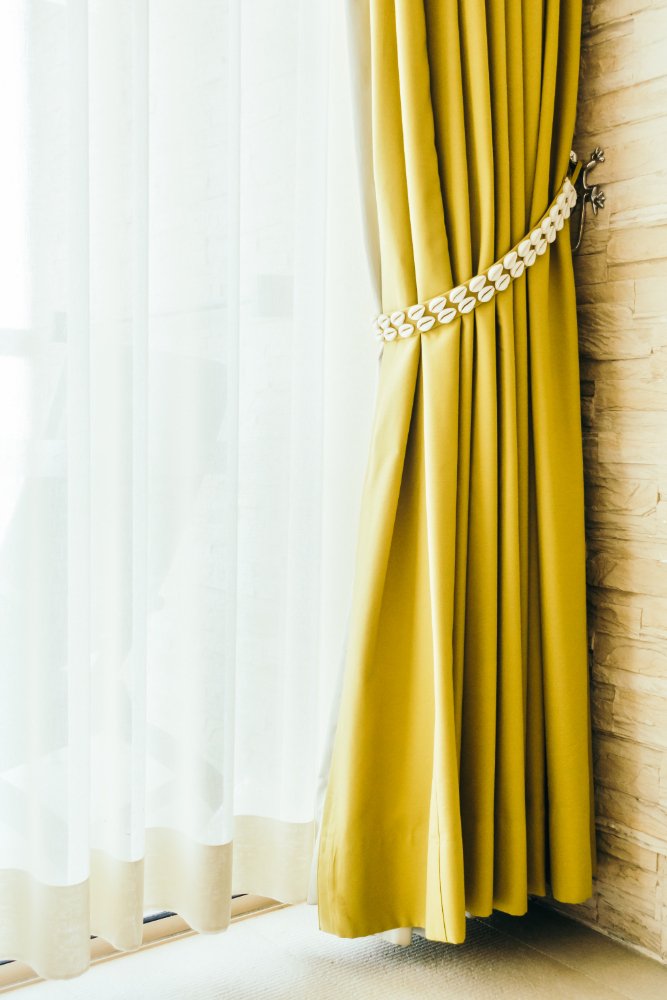
Curtains Are Too Short: Yep, it happens to everyone at some point. At the top, you can place a valance (not to be confused with a waistband), suspend them from curtain rings or go full-dressy with a decorative hem band at the bottom.
Rod is drooping: This generally indicates the brackets are spaced too far to hold the weight of your curtains. Install a center support bracket, or move to a higher gauge rod.
Curtains won’t stay closed: If your curtains insist on sliding open, sew curtain weights into the bottom hem. You can purchase these at any fabric store, but in lieu, coins can be used as a temporary solution.
Brackets won’t stay in wall: Your anchors might be too small for the hole, or you could be screwing into old drywall. Attempt larger anchors, or fill the holes with spackling compound, allow it to dry and try again.
Everything is off-kilter: Remeasure and forget level. And sometimes what reads as straight to your eye is not. Don’t be afraid to try again if necessary — it is better than living with crooked curtains.
Change Up Your Room with Stylish Curtains
It doesn’t have to be difficult or stressful to hang curtains. With the right tools, precise measurements and a bit of patience, you can make over your bedroom without breaking the bank to create a space that looks as if it was decorated by an experienced designer.
And remember to be slow with measurements — that specific step is the difference between this working and not. “Invest in quality hardware that can carry the weight of your curtains,” Kastelic said, “and don’t be afraid to hang them higher and wider than you think you should.”
You wouldn’t believe what properly hung curtains can do for a bedroom. They provide color, texture and warmth to a room while offering you control over light and privacy. And there is something satisfying about doing a home improvement project yourself.
Ready to get started? What you’ll need: Measuring tape and a trip to the home improvement store. You can transform your bedroom in just a couple of hours.