How to Clean Grout on Tile Floors Like a Pro
Tile floors are both stylish and durable, making them a popular choice for many homes. However, the grout between tiles can be a bit of an eyesore when it gets stained or discolored.
If you’re a homeowner or DIY enthusiast looking for effective ways to clean grout and keep your tile floors looking immaculate, you’ve come to the right place.
This guide will walk you through understanding what grout is, why it gets dirty, and the best methods to clean it. From simple DIY solutions to commercial products and steam cleaning, we’ll cover it all.
What Is Grout and Why Does It Get Dirty?
Grout is a porous mixture of sand, cement, and water used to fill the gaps between tiles.
While it’s essential for stabilizing tiles and creating a seamless surface, its porous nature makes it prone to absorbing dirt, moisture, and stains.
Common culprits for dirty grout include:
- Spills from liquids like coffee or wine.
- Everyday dirt and debris tracked in from shoes.
- Mold and mildew in damp areas like bathrooms.
Even sealed grout can lose its luster over time without regular cleaning or maintenance.
Getting Started: Preparing to Clean Your Grout
Before tackling grout stains, preparation is key. Here’s what you need to get started:
Gather Cleaning Supplies
- A stiff-bristled brush or grout brush
- Protective gloves
- Goggles (recommended for harsher cleaners)
- White vinegar
- Baking soda
- Spray bottle
- Water
- Optional: Commercial grout cleaner or a steam cleaner
Protect Your Surfaces
- If your tile floors are near walls, trim, or furniture, cover these with a tarp or painter’s tape.
- Always test a cleaning solution on a small, inconspicuous area before applying it broadly.
Check If Your Grout Is Sealed
To test this, drop some water on your grout lines. If the water beads up, your grout is sealed.
If it soaks in, it’s unsealed and could require extra care when choosing cleaning methods.
Effective Grout Cleaning Methods
1. Vinegar and Water Solution
A vinegar and water mixture is a natural, affordable solution for light to moderate stains.
It’s ideal for regular grout maintenance and tackling minor discoloration. Plus, it’s eco-friendly and safe to use in most households.
- How to Use:
- Mix equal parts white vinegar and water in a spray bottle. For a stronger solution, you can slightly increase the vinegar ratio.
- Spray the solution generously onto the grout lines, ensuring all areas are coated.
- Allow it to sit for at least 5 minutes to loosen dirt and grime.
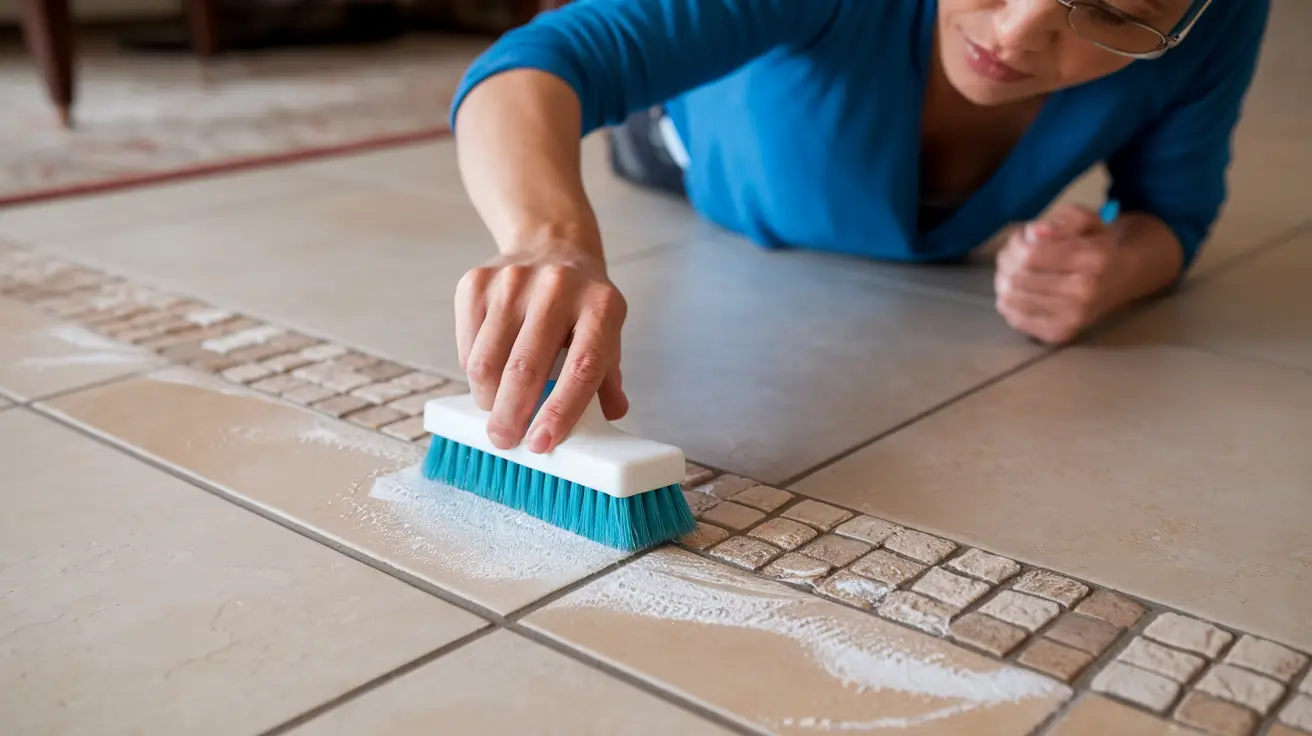
- Use a stiff-bristled brush or an old toothbrush to scrub the grout in circular motions for better results.
- Rinse thoroughly with water to remove any residue and dry with a clean, soft cloth.
Pro Tip: Avoid using vinegar on unsealed grout or natural stone tiles like marble, granite, or limestone as the acidity can erode the surface and cause damage over time. Ensure grout is sealed before using this method.
2. Baking Soda and Vinegar Paste
For tougher stains, combining the abrasive power of baking soda with the acidic reaction of vinegar creates a highly effective cleaning solution.
This method is perfect for attacking stubborn spots and restoring grout to its original brightness.
- How to Use:
- Mix baking soda with a small amount of water to make a thick, spreadable paste. Adjust the consistency as needed.
- Apply the paste generously to the grout lines using your fingers or a small brush, making sure to cover every section.
- Spray the vinegar solution (mentioned above) directly onto the paste. You’ll notice it bubbling as it reacts, helping to break down grime.
- Use a grout brush, a nylon scrubber, or an old toothbrush to gently scrub the grout lines, focusing on problem areas.
- Rinse away the residue with warm water, then dry with a clean towel.
Pro Tip: For extra dirty grout, let the baking soda paste sit for 10-15 minutes before applying the vinegar for added cleaning power.
3. Commercial Grout Cleaners
When it comes to deeply set stains or years of built-up grime, commercial grout cleaning products provide a powerful solution. Brands like Grout-EEZ, The Pink Stuff, and Zep are specifically formulated to target and dissolve tough stains. These cleaners can save time and effort but should be used with care.
- How to Use:
- Carefully read and follow the instructions on the cleaner’s label, ensuring you mix or apply it correctly.
- Apply the product directly to the grout lines, making sure to cover stained areas thoroughly. Use a small brush for precision.
- Let the cleaner sit for the recommended time (usually 5-10 minutes) to allow the chemicals to work.
- Scrub the grout using a grout brush or stiff-bristled broom, depending on the area’s size.
- Rinse the area with clean water to remove all traces of the cleaner, and dry with a cloth.
Safety Note: Always ventilate the room well and wear gloves when working with chemical cleaners to protect your skin. Keep children and pets away from the area during and after application until it’s fully cleaned.
4. Steam Cleaning
A steam cleaner is an excellent tool for those who prefer a chemical-free approach to grout cleaning. It uses high-pressure steam to loosen dirt, mold, and bacteria, making it an effective and eco-friendly solution.
Steam cleaning is especially useful for large areas or routine grout maintenance.
- How to Use:
- Fill the steam cleaner’s tank with water, following the manufacturer’s instructions.
- Attach the grout-specific nozzle or brush for precise cleaning.
- Direct the steam nozzle onto the grout lines and move it slowly over each section to loosen dirt and grime. Repeat the process for heavily stained areas.
- Wipe away loosened dirt with a microfiber cloth once the steam has done its job.
Pro Tip: Steam cleaning works best for maintaining grout cleanliness and handling light to moderate stains. For heavy stains, pair this method with a pre-treatment like baking soda paste for better results.
5. Grout Pen for a Quick Fix
Grout pens are a great option for refreshing the look of grout in small areas or touching up stubborn stains that won’t budge.
While they don’t actually clean the grout, they effectively mask discoloration, giving your tiles a cleaner, newer appearance.
- How to Use:
- Before applying the grout pen, clean the grout as thoroughly as possible using any of the methods above. This ensures better adhesion and a smoother finish.
- Shake the grout pen well and test it on an inconspicuous area to ensure the color matches your existing grout.
- Use the pen to “paint” over discolored grout lines, working slowly and precisely to avoid overlapping onto tiles.
- Allow the product to dry completely as instructed on the pen’s label. Reapply if necessary for a more even finish.
Pro Tip: Grout pens are ideal for small fixes or cosmetic touch-ups, but they’re not a long-term solution for heavily soiled grout. Pair them with regular cleaning for the best results.
By using these methods, you can restore your grout to its original brightness and keep your tiled surfaces looking fresh and clean!
Dealing with Stubborn Stains
If stains persist despite your cleaning efforts, you may need to use one of these approaches:
- Fine-Grit Sandpaper:
Using fine-grit sandpaper, gently sand the surface of the grout to remove the topmost stained layer. Be sure to clean and reseal the grout afterward.
- Re-grouting:
If the stains are extensive or the grout is damaged, re-grouting may be necessary. The process involves removing the old grout with a grout removal tool, cleaning the area, and applying fresh grout.
Maintaining and Preventing Dirty Grout
Cleaning grout doesn’t have to be a chore if you keep up with regular maintenance. Follow these tips to keep your grout looking fresh:
- Regular Cleaning:
Wipe down your tile floors weekly and clean grout monthly using mild cleaning solutions.
- Sealing Grout:
Use a grout sealer every 12-18 months to protect it from moisture and stains.
- Prevent Spills:
Clean up liquid spills immediately to prevent stains from setting.
- Use Rugs and Mats:
Place rugs or mats in high-traffic areas to minimize wear on grout.
When to Re-grout
Sometimes, cleaning isn’t enough. Here are signs that your grout needs replacing:
- Cracks or missing chunks of grout
- Persistent, deep stains
- Loose tiles due to deteriorated grout
Re-grouting is a more extensive process but can completely restore the appearance and function of your tiled surfaces.
Bring Back Sparkle to Your Tile Floors
Cleaning grout on tile floors may seem daunting, but with the right methods and materials, it’s entirely manageable.
Whether you prefer DIY solutions like vinegar and baking soda or are ready to try a commercial product or steam cleaner, there’s a solution for everyone.