20 Fun & Easy Flower Pot Painting Ideas to Brighten Your Home
I love a good DIY project, especially one that lets me get a little creative and add a personal touch to my home and garden. Painting flower pots is one of my favorite go-to crafts.
It’s simple, affordable, and the perfect way to spend a sunny afternoon. Whether you’re a seasoned artist or just looking for a fun activity to do with kids, there’s a design for you.
If you’re ready to transform plain terra cotta pots into vibrant works of art, you’ve come to the right place.
I’ve gathered 20 of my favorite flower pot painting ideas to spark your imagination. Let’s grab some brushes and get started!
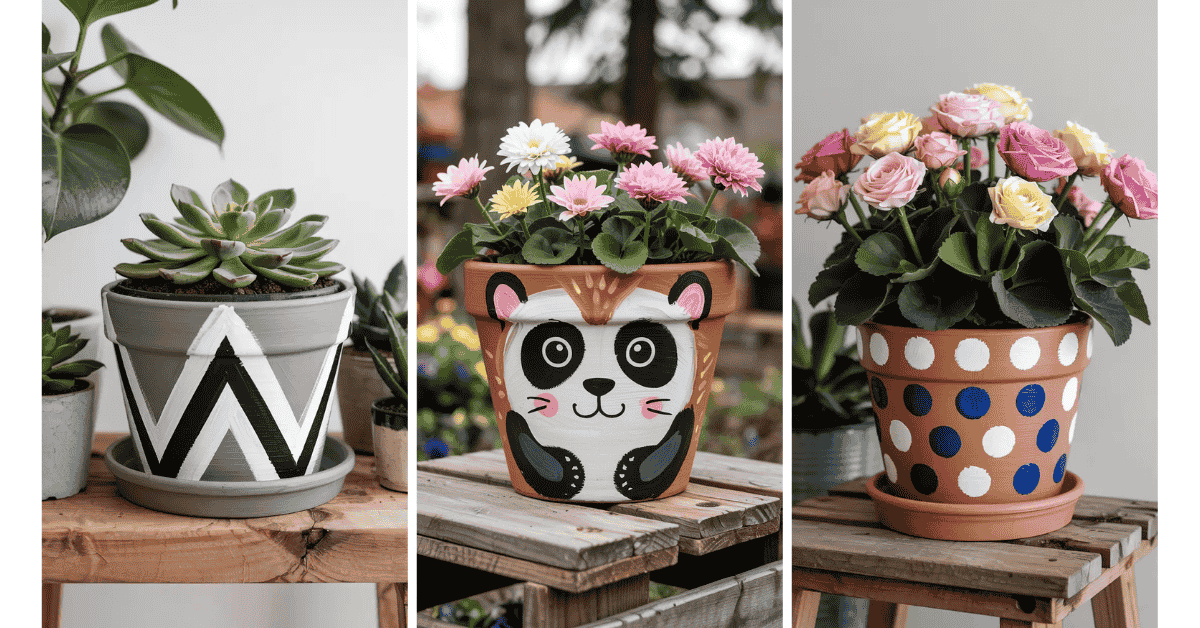
1. Classic Polka Dots
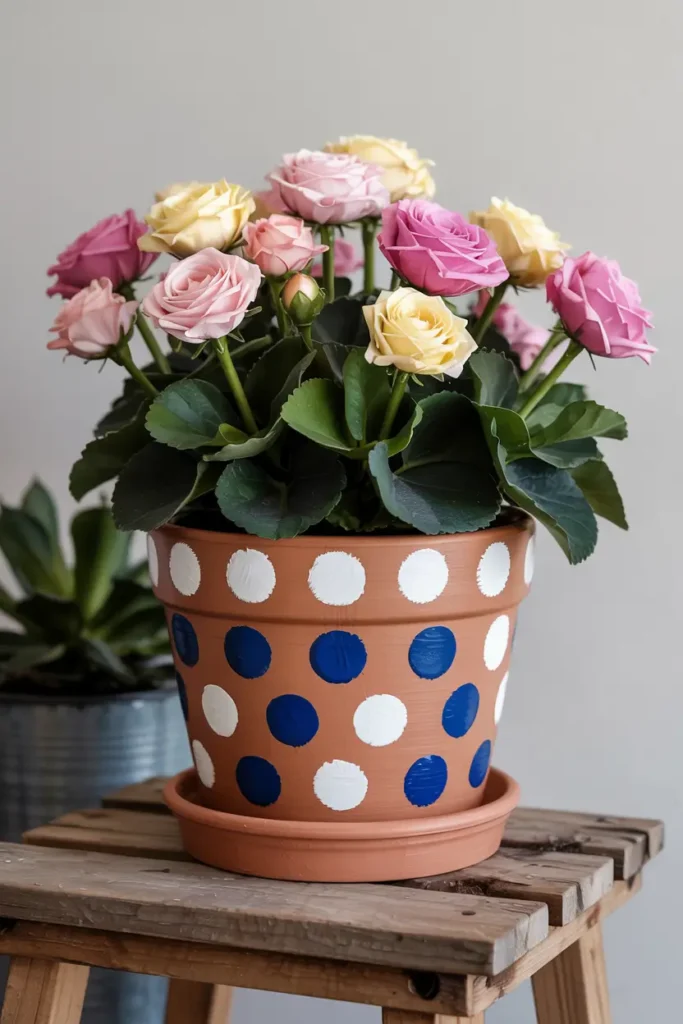
You can never go wrong with polka dots. I find this design to be timeless and incredibly easy to create. Just paint your pot a solid base color, and once it’s dry, use the end of a paintbrush or a foam pouncer to add dots in a contrasting color.
For a more uniform look, I plan out the spacing, but a random pattern can be just as charming. It’s a playful design that adds a pop of fun to any plant.
2. Minimalist Geometric Patterns
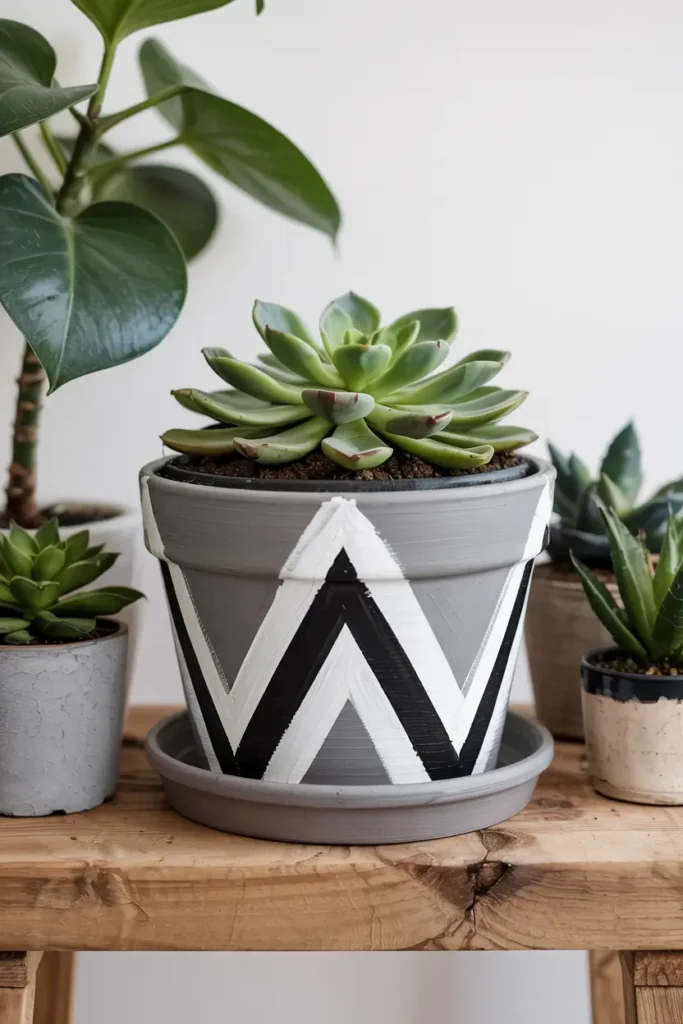
For a modern and chic look, I love painting simple geometric patterns. Think triangles, squares, and bold lines. I use painter’s tape to create sharp, clean edges for my shapes.
I usually stick to a simple color scheme, like black and white or shades of gray, to keep it looking sophisticated. This style works great for my indoor plants, especially succulents.
3. Adorable Animal Faces
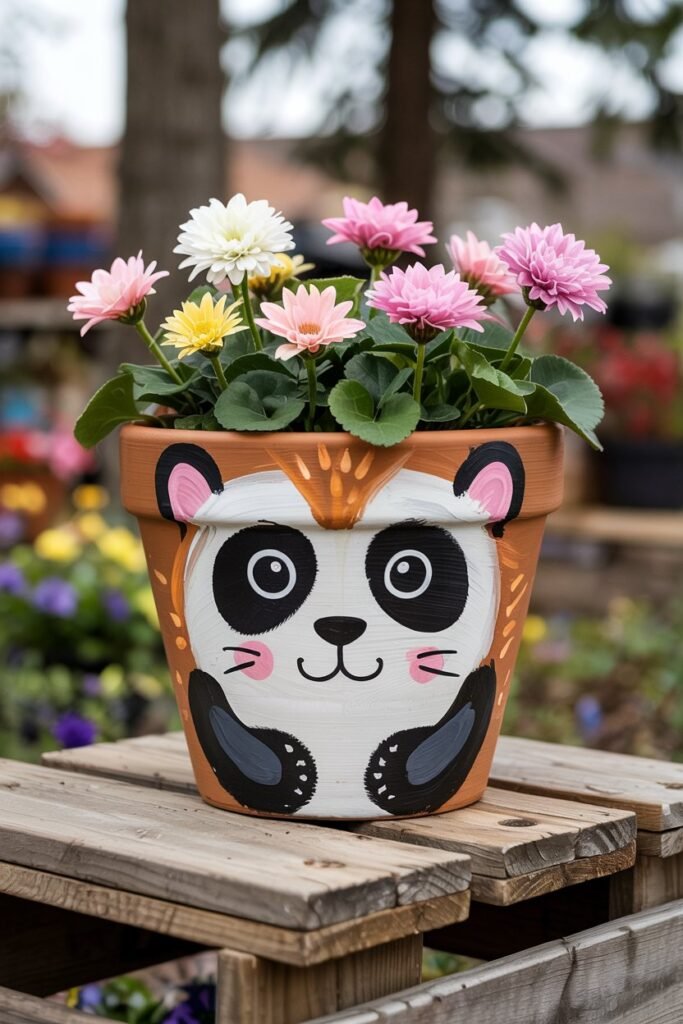
This idea is always a hit, especially if you have kids. I turn ordinary pots into cute animals like cats, foxes, or pandas. I start by painting the entire pot a base color, like white for a panda or orange for a fox.
Then, I add simple features like eyes, a nose, and whiskers with a fine-tipped brush. Planting a leafy green in it can look like hair, which adds to the fun!
4. Ombre Gradient Effect
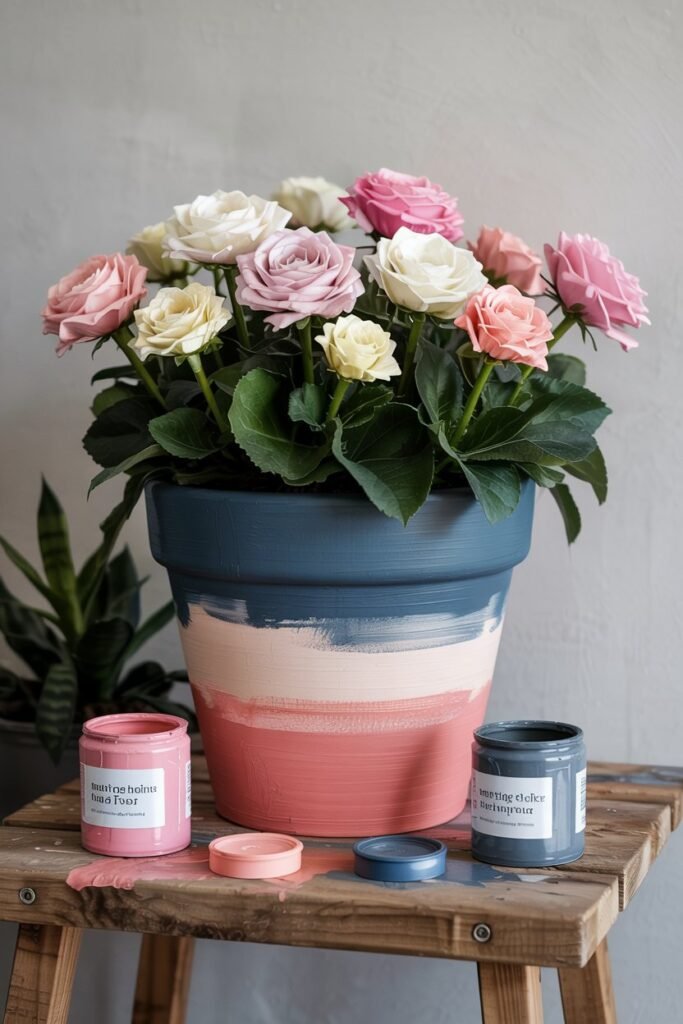
Creating an ombre effect is easier than it looks and the results are stunning. I pick two or three colors in the same family, from light to dark. I start by painting the darkest color at the bottom of the pot.
While the paint is still wet, I add the next color and blend the edges together. This technique gives the pot a beautiful, professional-looking finish.
5. Fun Fruity Designs
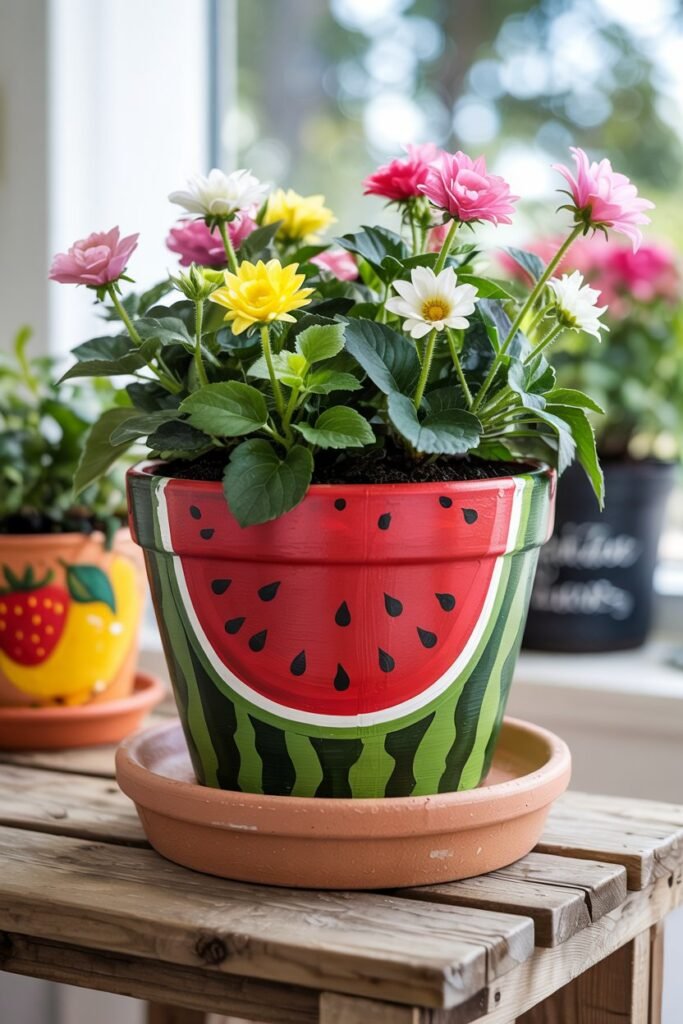
Why not make your pots look as fresh as the plants they hold? I love painting fruit designs like watermelons, strawberries, or lemons. For a watermelon pot, I paint the bottom half green and the top half pink with a white line in between.
Then, I add black “seeds” to the pink section. It’s a cheerful design that’s perfect for a kitchen herb garden.
6. Chalkboard Pot
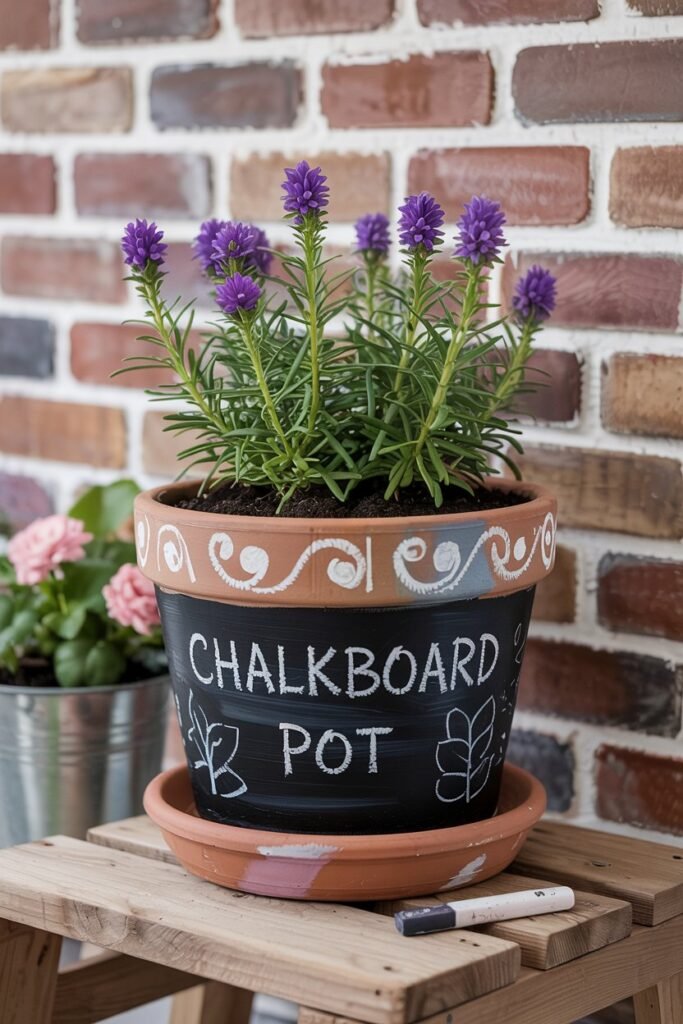
A chalkboard pot is both cute and practical. I use chalkboard paint to cover the entire pot. Once it’s dry, I can write the name of the plant on it with chalk or a chalk marker.
This is super helpful for me when I’m trying to remember which herb is which. Plus, I can change the message or drawing whenever I feel like it.
7. Gold-Dipped Look
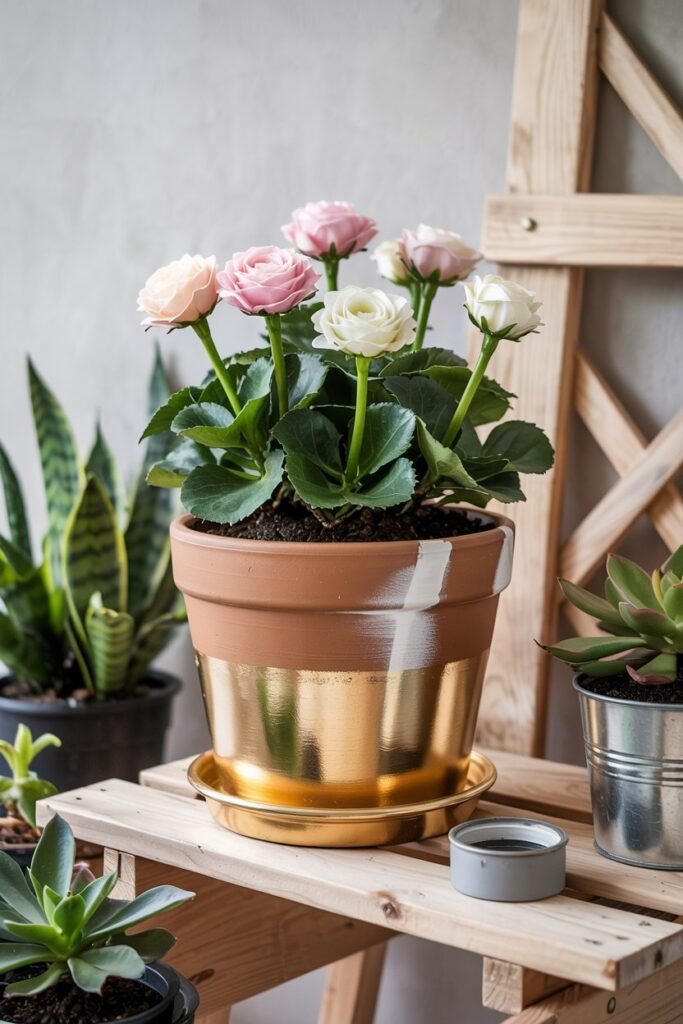
For a touch of elegance, I go for a gold-dipped design. I tape off the section of the pot I want to keep plain and then spray-paint the bottom portion with metallic gold paint.
The contrast between the rustic terra cotta and the shiny gold is absolutely beautiful. It’s a simple way to make your pots look high-end.
8. Hand-Painted Face Planters
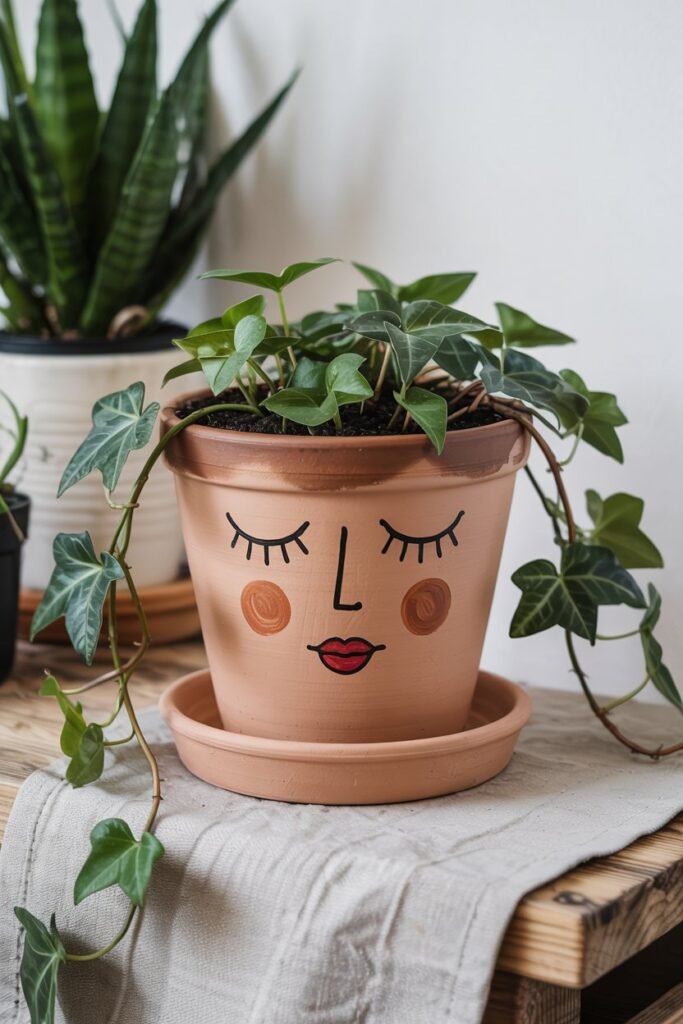
I find face planters so charming and whimsical. On a plain pot, I draw a simple face with closed eyes and rosy cheeks. The plant inside acts as the “hair.”
I think trailing plants like string of pearls or ivy work perfectly for this, creating a dramatic and ever-changing hairstyle as they grow.
9. Marbled Masterpiece
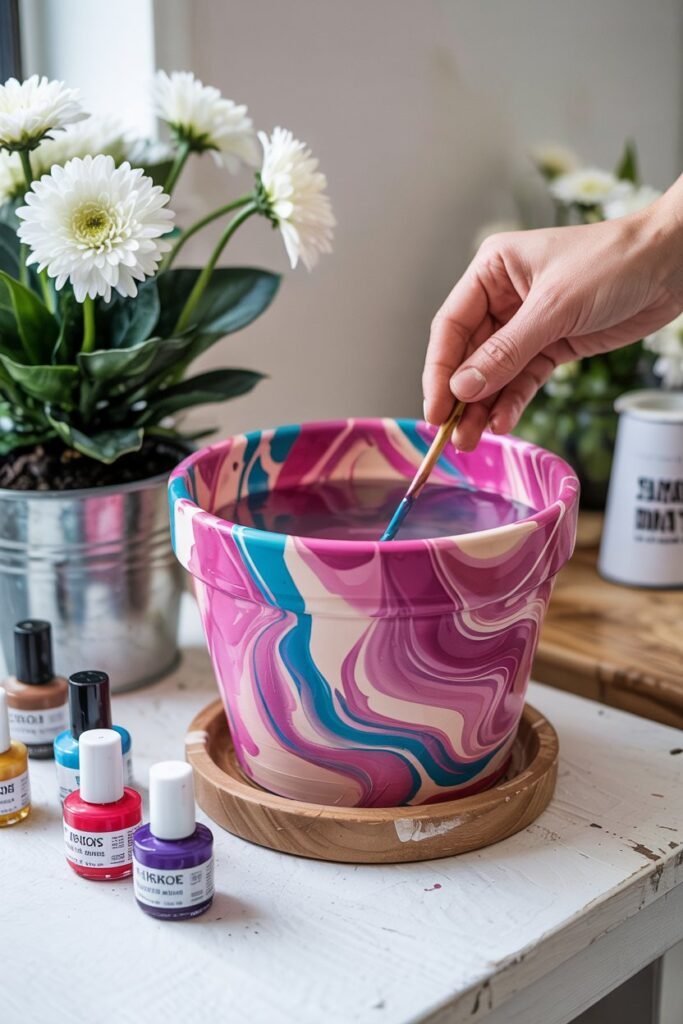
Marbling with paint can seem intimidating, but it’s a really fun and unpredictable process. I fill a bucket with water and drop a few different colors of nail polish or marbling paint onto the surface.
I give it a gentle swirl with a stick and then dip my pot into the water. The paint clings to the surface, creating a unique marbled pattern every time.
10. Simple Stripes
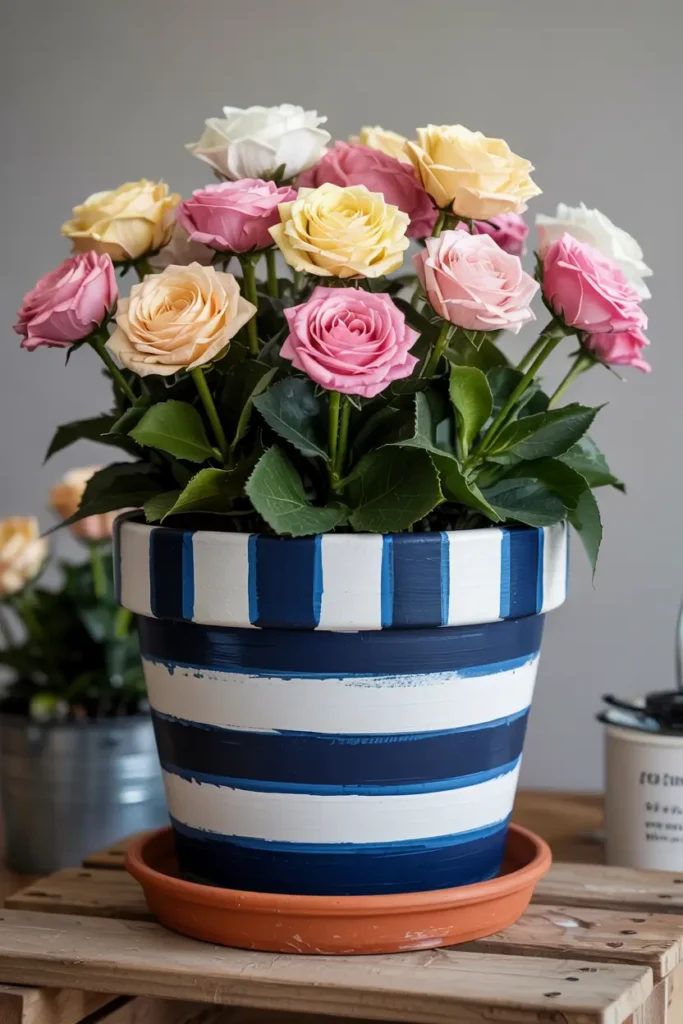
Stripes are another classic design that I find very versatile. I use painter’s tape to create crisp, even stripes. I can do horizontal, vertical, or even diagonal stripes.
Playing with different color combinations and stripe widths can create a variety of looks, from nautical to modern. It’s a straightforward design with endless possibilities.
11. Ice Cream Cone Pot
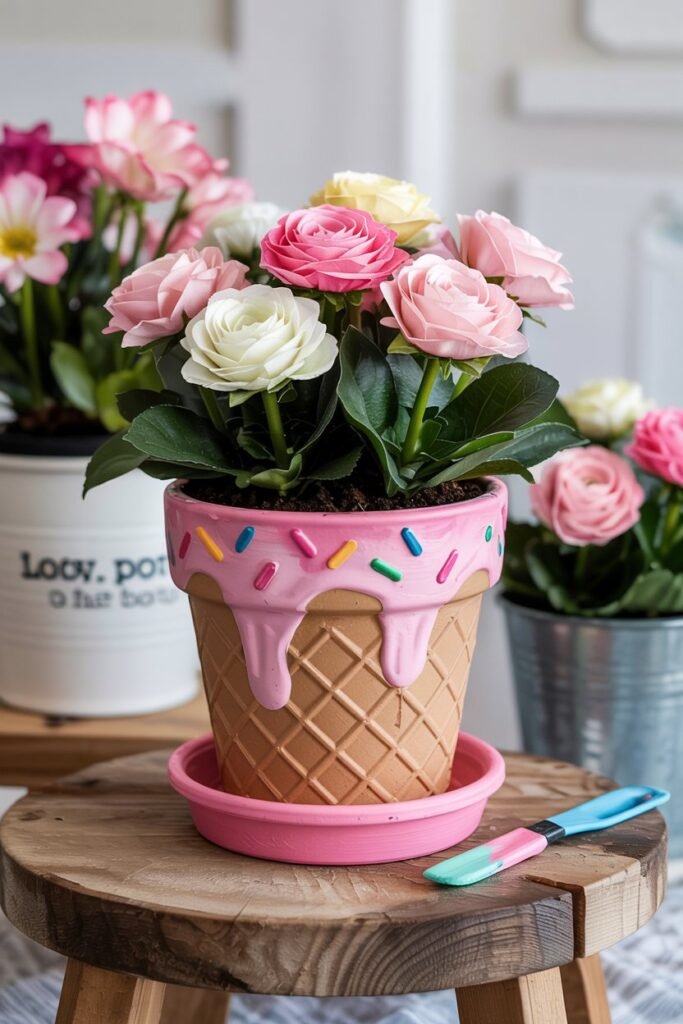
This is one of my all-time favorite cute ideas. I paint the bottom part of the pot a tan color with a cross-hatch pattern to look like a cone.
Then, I paint the rim a fun color like pink or white to look like a scoop of ice cream, complete with colorful sprinkles. It’s an adorable design for a sweet little plant.
12. Aged Terra Cotta
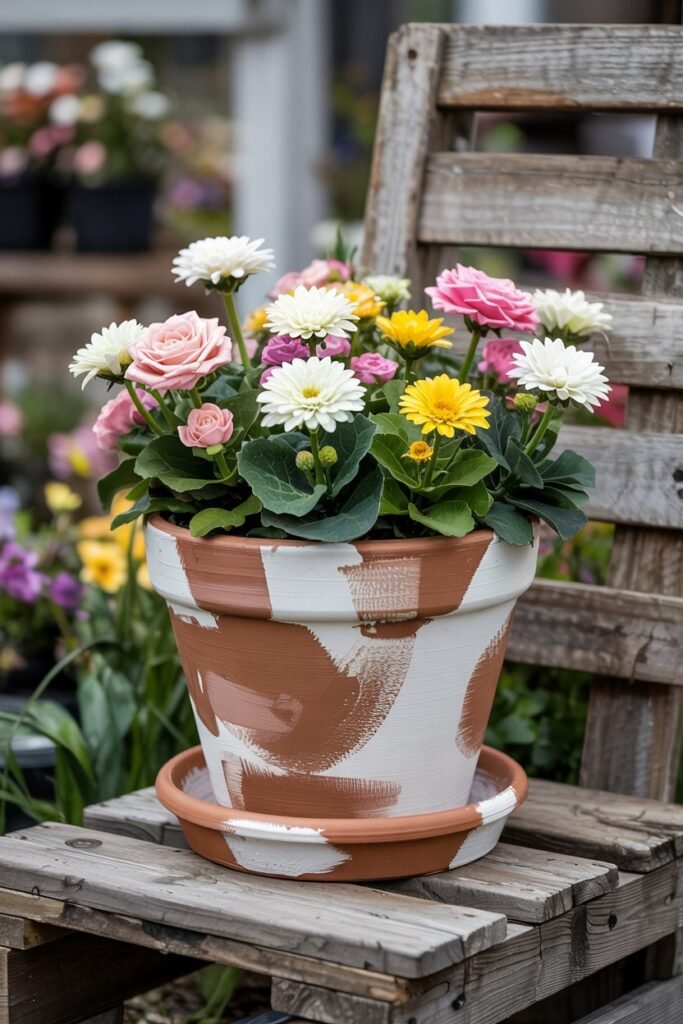
Sometimes, an old, weathered look is exactly what I want. I create an aged effect by dry-brushing white or light gray paint onto the pot.
I dip my brush in paint, wipe most of it off on a paper towel, and then lightly brush it over the pot’s surface. This technique gives it a rustic, vintage charm that I love for my garden.
13. Drip Paint Effect
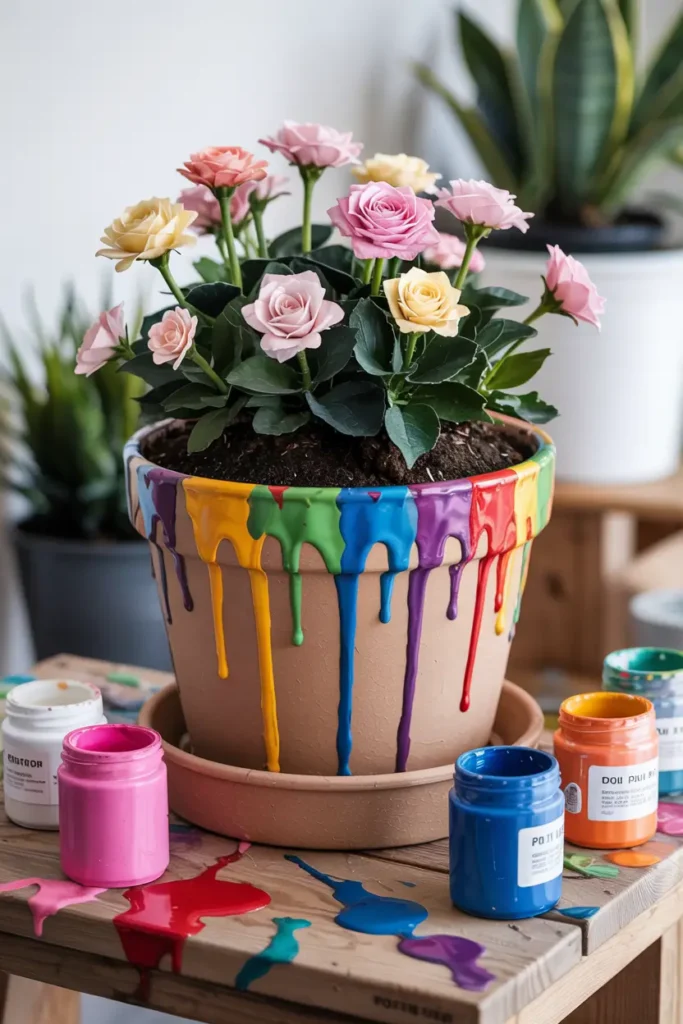
For a colorful and abstract look, I try the drip paint method. I turn the pot upside down and pour different colors of acrylic paint around the bottom edge.
The paint then drips down the sides, creating a unique and vibrant pattern. I love how each one turns out completely different.
14. Nature-Inspired Leaves
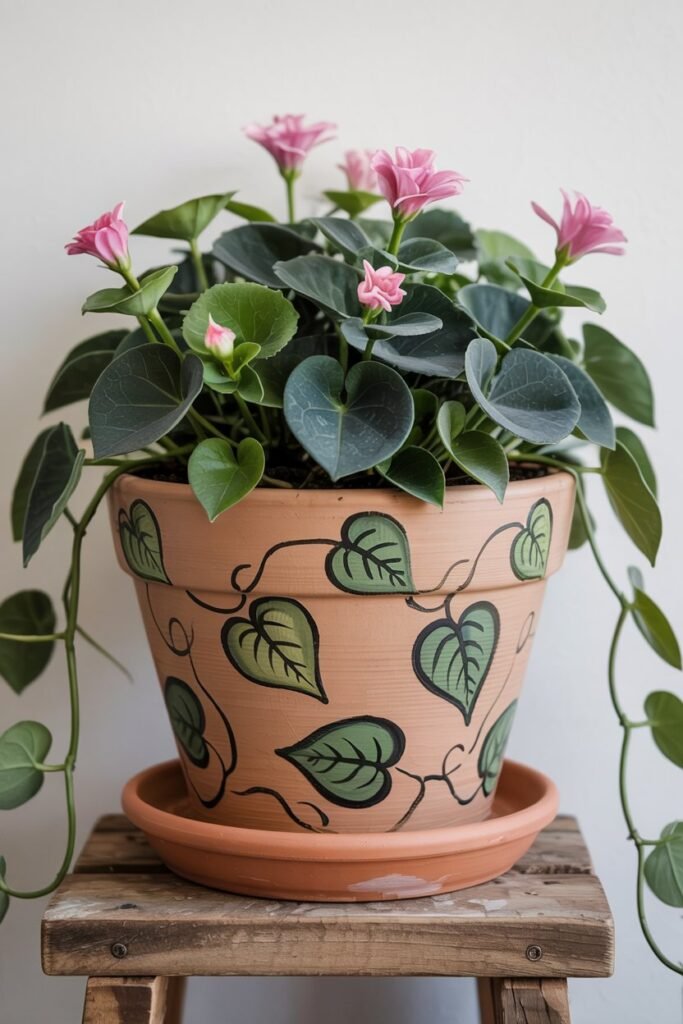
I often take inspiration from nature itself by painting leaves and vines on my pots. Using a few shades of green, I paint simple leaf shapes or winding vines around the pot.
This design feels very organic and complements the plant inside perfectly. It’s a forgiving design, as imperfect, natural-looking leaves are part of the charm.
15. Constellation and Galaxy Designs
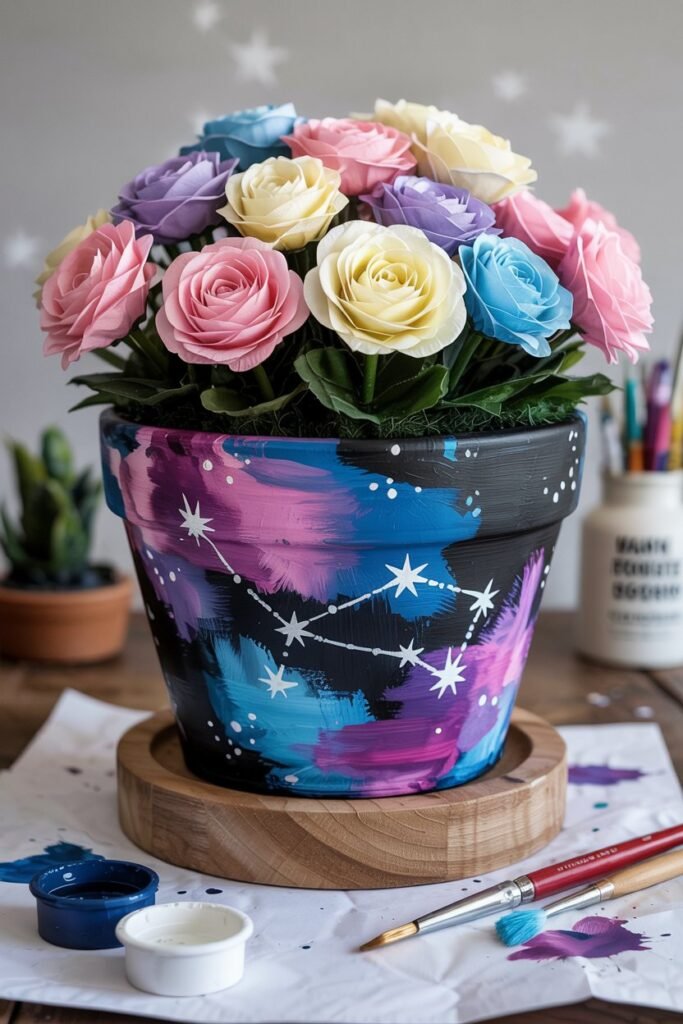
For a touch of magic, I paint galaxy or constellation designs. I start with a dark blue or black base. Then, I use a sponge to dab on patches of purple, pink, and blue.
I finish by splattering white paint with a toothbrush to create stars. It’s a cosmic design that looks out of this world.
16. Black and White Patterns
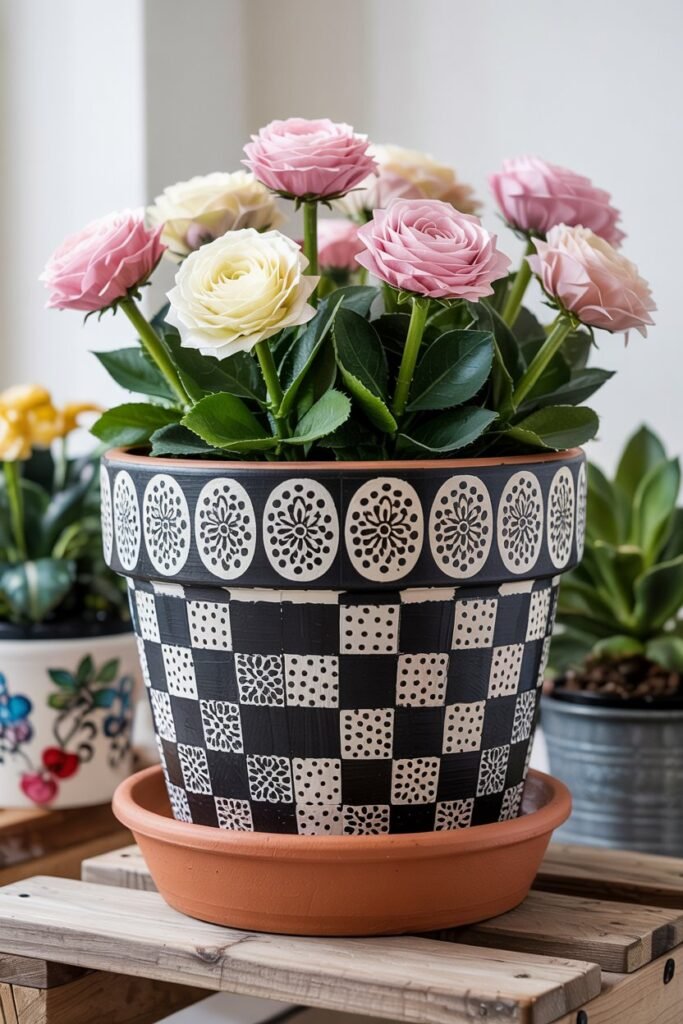
You can’t beat the bold contrast of black and white. I enjoy creating intricate patterns like mandalas, simple doodles, or checkerboards using just these two colors.
A fine-tipped paint pen is my best friend for this kind of detailed work. The final result is always striking and stylish.
17. Abstract Color Blocking
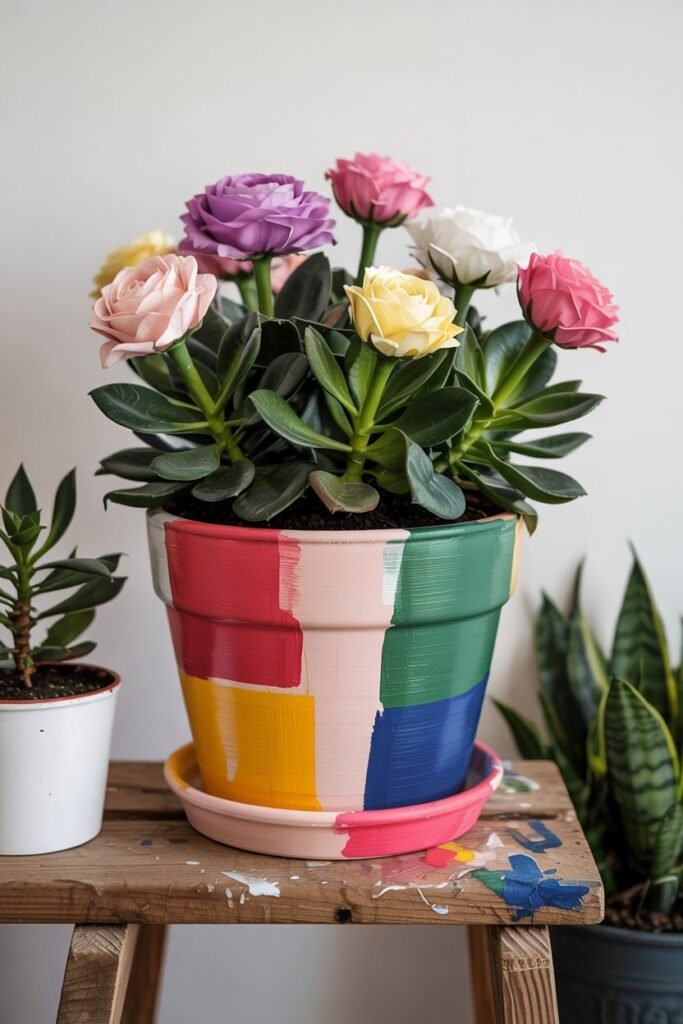
Color blocking is a great way to use multiple bold colors. I use painter’s tape to section off different areas of the pot and paint each section a different solid color.
I love experimenting with unexpected color combinations. The result is a modern art piece for my plants.
18. Hand-Lettered Quotes
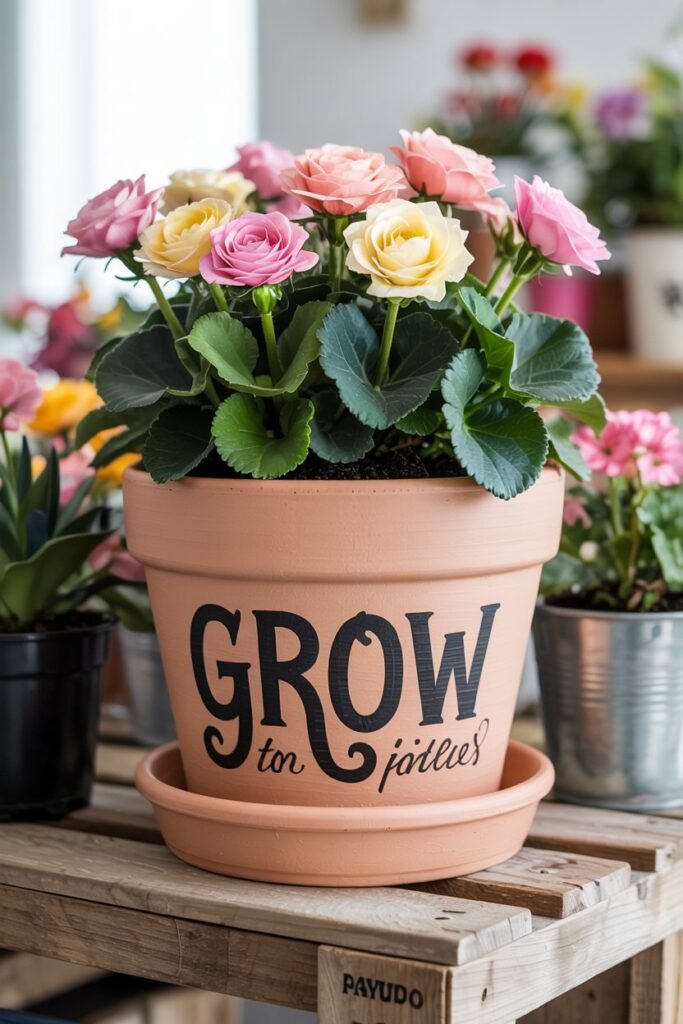
I like to add a personal touch with hand-lettered quotes or words. I pick a favorite short quote or a simple word like “grow” or “bloom” and write it on the pot using a paint pen.
It adds a bit of inspiration to my day every time I see it. My handwriting isn’t perfect, but that just adds to the handmade feel.
19. Simple Character Silhouettes
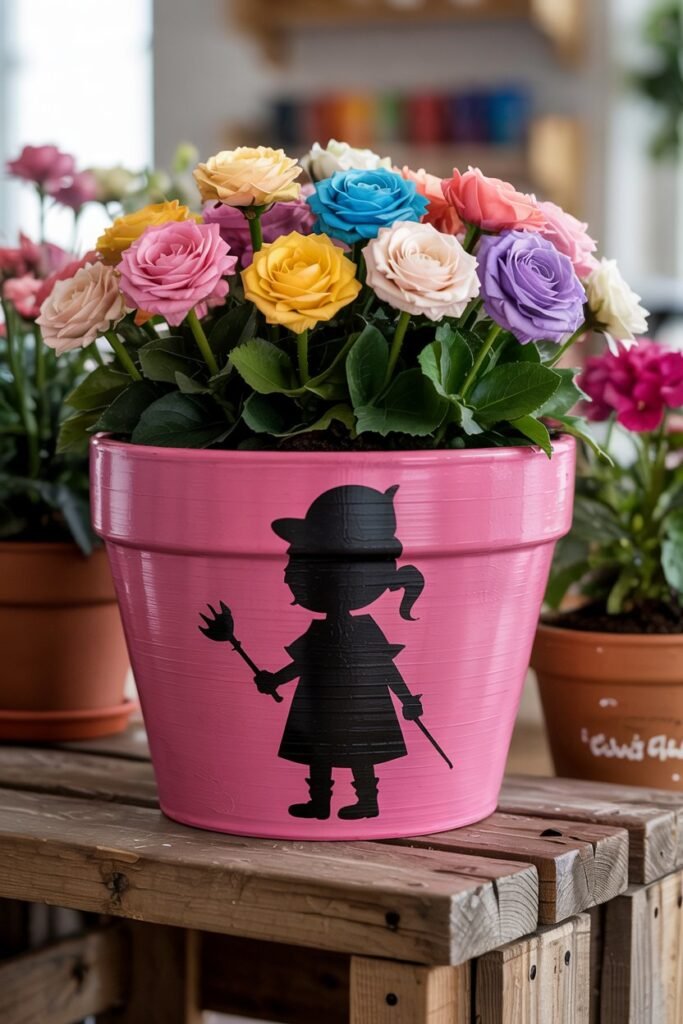
Creating silhouettes of favorite characters is a fun and subtle way to show off some personality. I find a simple silhouette online, print it out, and use it as a stencil.
I paint the pot a bright color and then fill in the stencil with black paint. It’s a clever nod to a beloved movie or book.
20. Let the Kids Go Wild
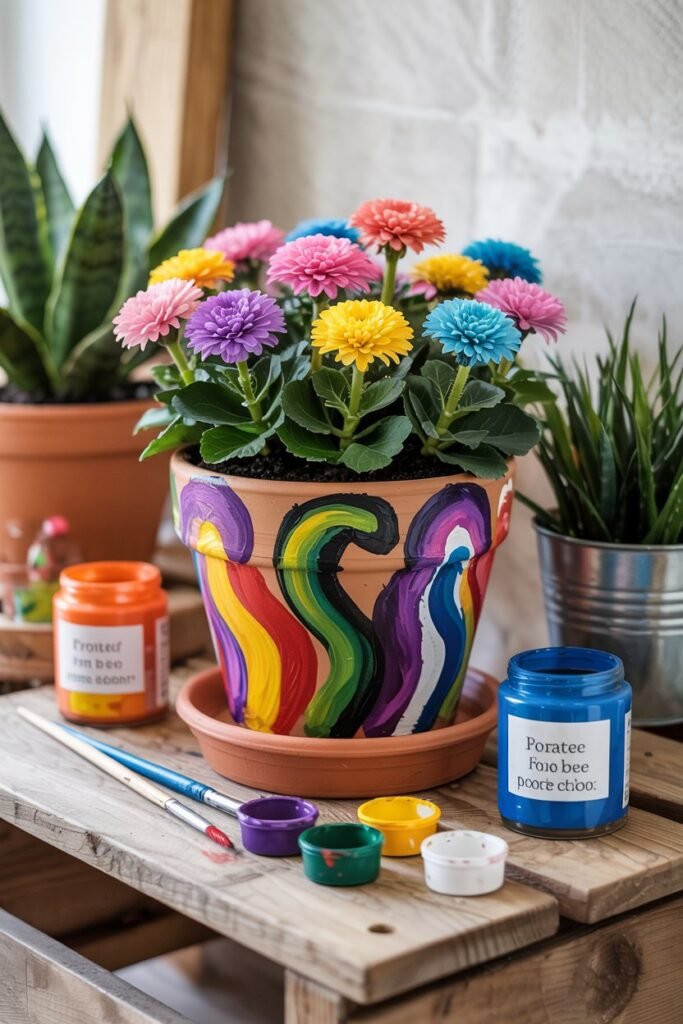
Finally, one of the best ideas is to just hand over the paints and brushes to the kids and let their imaginations run free. Their abstract creations are often the most joyful and treasured pots in my collection.
It’s less about a perfect design and more about the fun of creating something together. The pride on their faces is the best part of the whole project.
Conclusion
I hope these ideas have inspired you to start painting. Transforming a simple flower pot is a rewarding project that allows you to express your style and add a unique touch to your home. So pick a design, grab your supplies, and let your creativity bloom.